Element: Dropdown Menu
Introduction
You can insert many options into a single drop with the Dropdown element. The dropdown menu is great to use when forcing a user to select only one option in any given category.

Benefits, Features & Use Cases
Benefits &Features
- Space-saving: Condenses multiple options into a compact, expandable menu
- User-friendly: Familiar interface that most users understand intuitively
- Organized: Groups related options together for easy navigation
- Streamlined: Simplifies the user interface by hiding options until needed
- Customizable: Can be styled to match your website or app's design
- Mobile-friendly: Works well on smaller screens and touch interfaces
Use cases:
- You may want your customers to select a product from a list within the same category. For example: Shirt Type, Room Size, etc.
- Each product in the dropdown may have a different price
- Use it to ask a question to your customer. For example, What shipping method do you prefer?
Watch It In Action
In this example, you can see how the price changes on each option.

Near Search Bar
When more than 7 items are inside a dropdown, a search bar will appear for your users.

How to Activate & Use This Feature
- To get started, click on the "+ Add Element" button

- Then, click on the "Dropdown" button to add it

Settings & Options
- First, you can set a "Title" for this element, it's gonna be visible on the front.

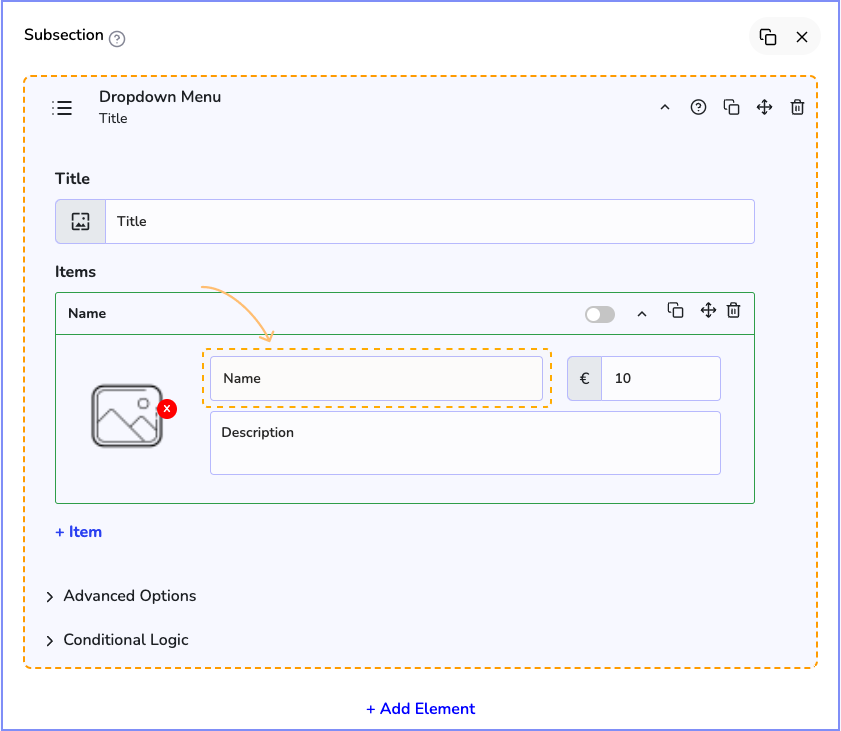
- Now we have the dropdown items. In the first row, we have a toggle Switch, this will set this item as the default selected item in the dropdown.

- Next, we can set a name for this item. For example, "Tank Top".
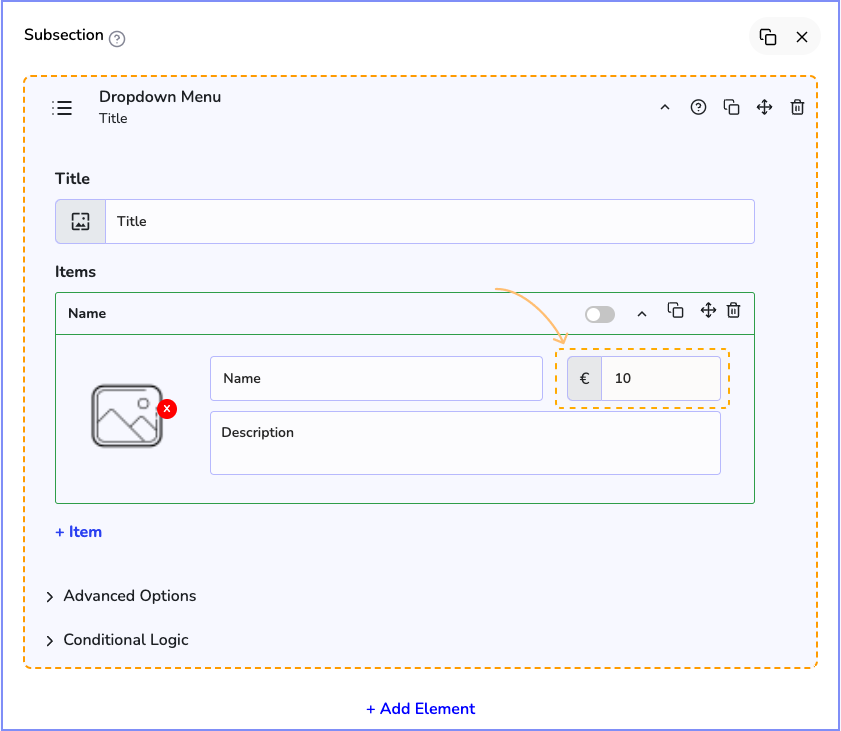
- Now you can set a unit price for the item.
- You may want to add an image and a description for this item, this is gonna be visible on the frontend.

- If your Stylish Cost Calculator is connected to WooCommerce, you can link this item to a WooCommerce product. You can learn more about it on the next link:
WooCommerce Integration: A Complete Guide ⭐️

- You can add more items to your dropdown easily by clicking on the "+Item" button.

- On the advanced options, you can set this element to required if you want to force your customers to select an option.
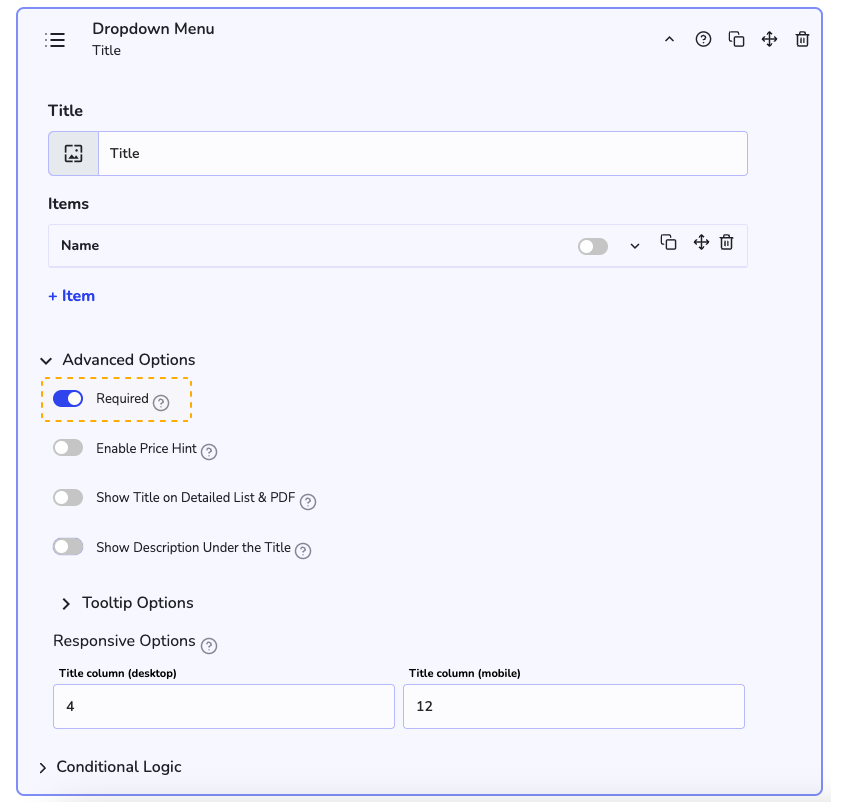
- You can also decide if you want to show or hide this element from the Detailed List & PDF.

Additional Information
Related Features
All Elements & Features
Learn more about All Elements
Learn more about All Features
Need Support?
Ask a question or request support
Request a feature or give feedback


Updated on: 05/09/2024
Thank you!